I set off at 06.00 am on Saturday morning to travel a hundred miles north to the city of Stirling, to help set up our clubs’ display stand at the Scottish National Bonsai Exhibition. This show is organised by the Scottish Bonsai Association; an organisation of about 120 members. It’s a one day event and the entire show is set up in a 2 hour period prior to opening at 10.00 am. With 3 unfit retired members available to erect our club display, we struggled to complete the task within the allotted time period. This year, judging was carried out by all the attending association members using a voting card system. Our club, the Lanarkshire Bonsai Club took 5 of the 7 available awards.
Here are some general pictures of our 2 sided display followed by a gallery of detailed shots.


Click on any picture in the gallery to see a larger one in gallery mode
-

-

-

-

-
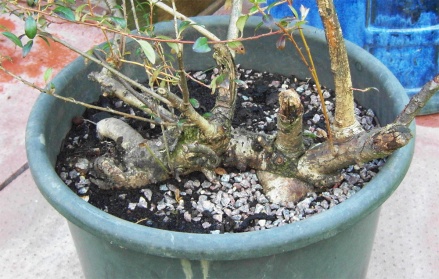
My trident
-

-
Jim Conlins trident
-

-
my white pine 3rd place shohin competition
-

-
My zelkova
-

-
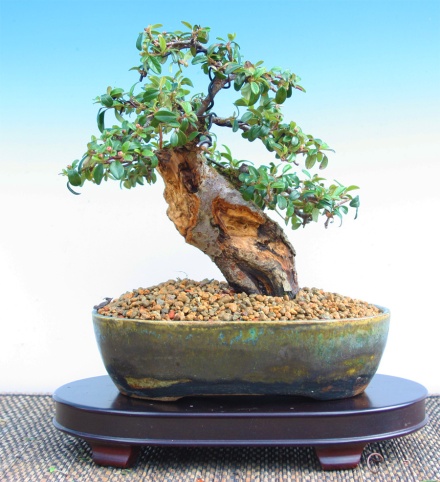
my cotoneaster best shohin award
-

-
Jim’s chinese elm
-

-
my cotoneaster
-

-
Maurice’s pyracantha
-

-
my potentilla
-

-
Dougie Smith’s white pine 2nd place shohin competition
-

-
my trident
-

-
Dougie’s white pine 4th place shohin competition
-

-
Maurice’s azalea
-

-
Jim Conlin’s root over rock juniper. Japanese Consul’s award
-

-
Jim’s root over rock trident
-

-
Jim receiving his award
-

-
Dougie Smith’s maple forrest
-

-
Ian McMaster’s scots pine
-

-
my Blaauws Juniper
-

-
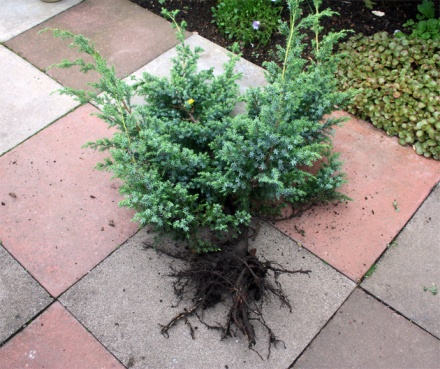
Ian McMaster’s potentilla
-

-

-

-

The Ayrshire Club’s display featured 2 large trees in development as well as a number of fine finished specimens. Here are some pictures of their display.

A large Yew in development

Large Field Maple

Deshojo Maple forrest. This tree received the members favourite award.

Acer Palmatum. This tree received the general public’s favourite award.

Lovely Potentilla originally created by Robert Atkinson

Large Hawthorn in development


I have to say that the Perth Club’s display was colourful, well thought out and well presented; the trees were well chosen and well worked. It’s the sort of display that could easily pick up a gold medal at a flower or gardening show. Though it is unlikely that this type of display would be rated highly in a prestigious bonsai show.
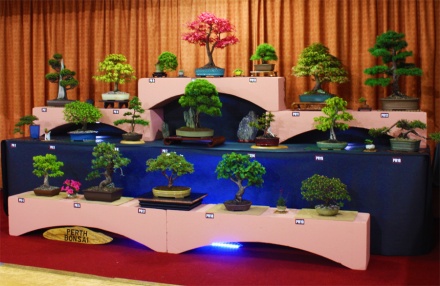


Here are a few general shots of some of the other displays


As a general rule I tend to avoid controversial statements in any of my posts online but I feel so strongly about what I am about to say now that I am prepared to make an exception here. The standard of bonsai display at this show falls far short of what an informed person might reasonably expect to see at a show which is billed by the organisers as a “National” bonsai event. The Scottish Bonsai Association, who organise this show, pride themselves on their policy of inclusiveness, where a complete beginner can bring a tree to a show and have it displayed on the show bench next to one of the best trees in the country. They demonstrate this policy admirably and effectively at their Gardening Scotland event. A National Bonsai Show is something quite different. It should be an inspiring showcase for enthusiasts and the public alike, where the best trees in the country are brought together and displayed to the highest international standards. It should be a statement by a nation telling the world where we stand in terms of bonsai development. The Scottish Bonsai Association is the only organisation with the resources to make this a reality. If the will is not there to do it, then the organisation will be failing those members who desire to take their trees to a higher level and it would be an open statement to all its members that there are limits to what you might expect to achieve within this organisation.
Rant over for the moment, unless of course I develop a taste for this type of commentary